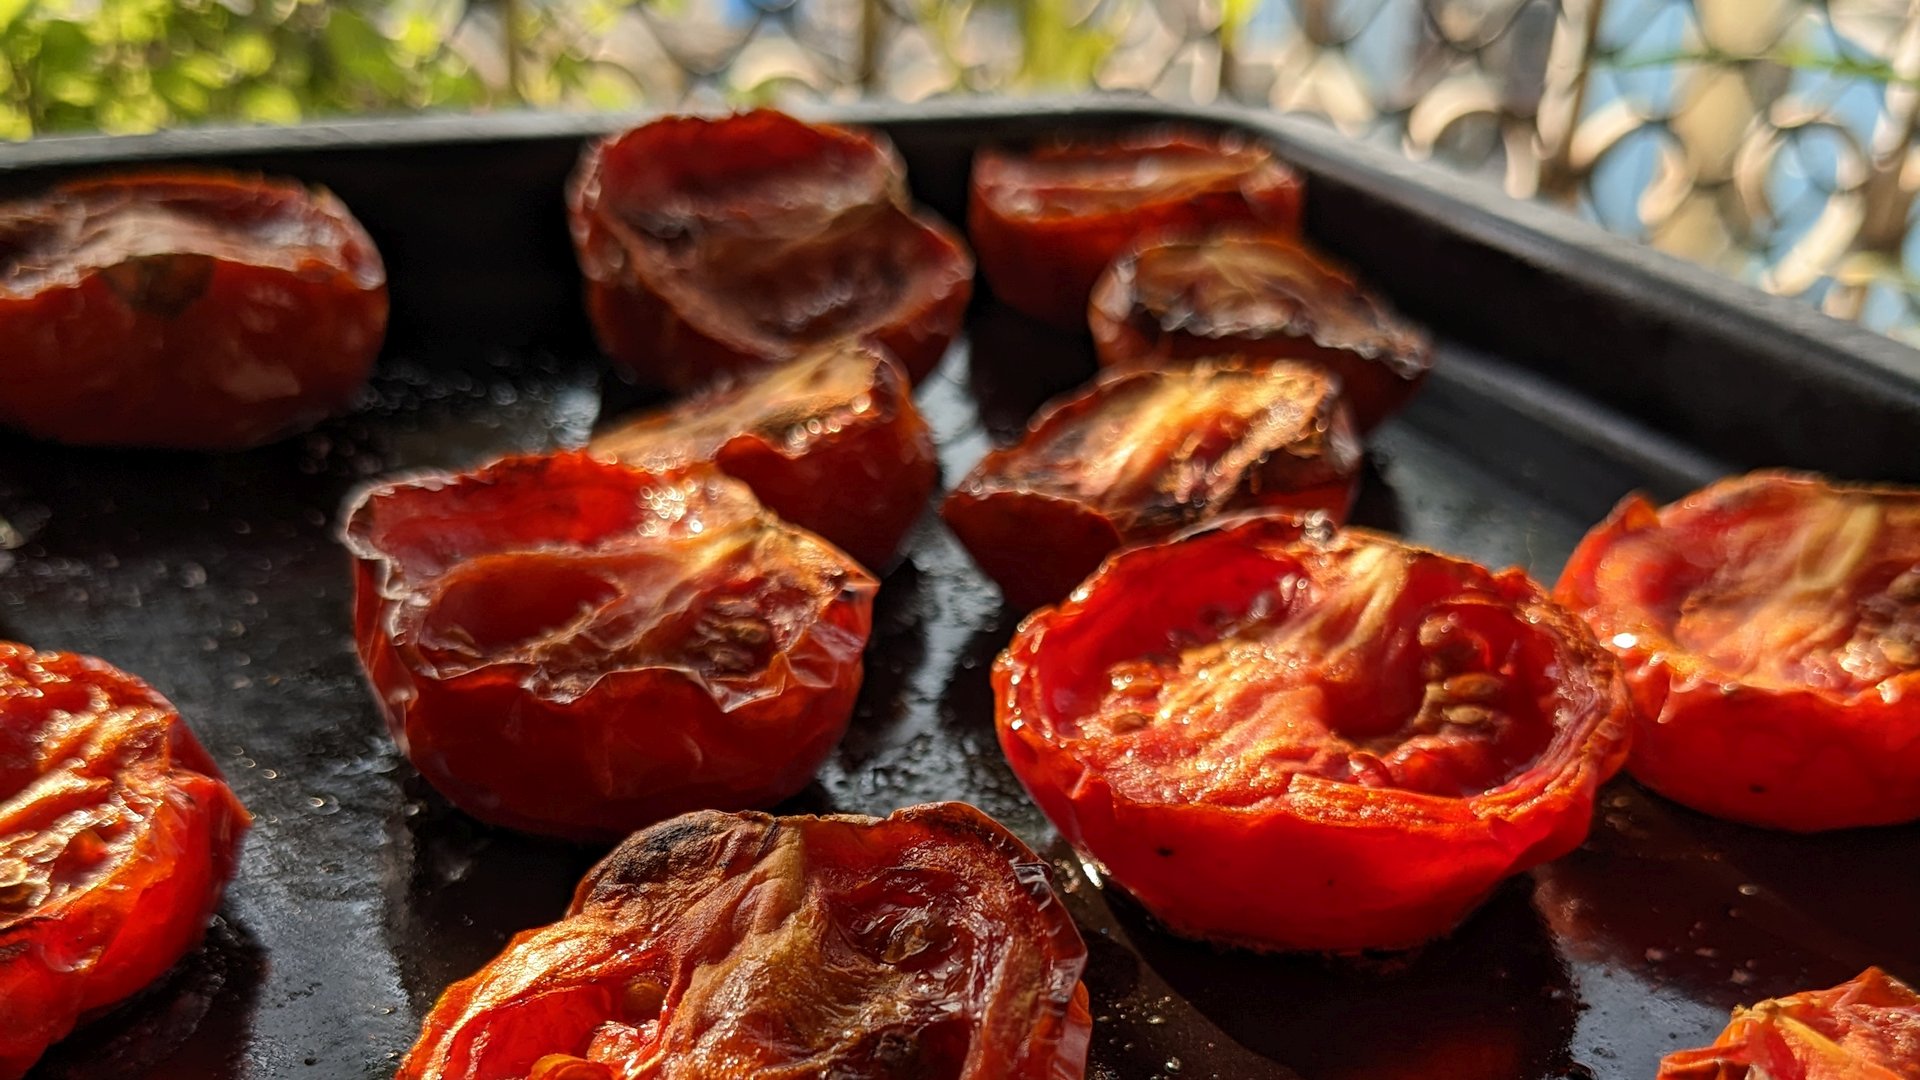
You have had a busy week with work, chores, your kids or you just have been lazing about. You decide to make yourself a healthy nutritious meal only to find your fridge absolutely empty. You find yourself wishing you could pop out to your balconies or windows and pick out fresh produce to build your meals. But alas! You need to dress up, carry your shopping bags and head down to the local grocery store. Or, you reach out to your phone and add fresh vegetables to your cart and wait.
What if I told you that from your next visit to the grocery store or your online grocery shopping haul you could grow your own vegetables easily out of the comfort of your apartment. All you need are the vegetables you buy, a few appropriately sized containers and a good soil mix. Sounds exciting, right?
But Divya! We know nothing about growing vegetables, you say. Well, let me help you with how and what you should pick and what to do with these to get some healthy plants.
Here are 5 food growing projects you should look into for the next time you are out visiting the vegetable aisles.
1. Growing Chilli Peppers From Seeds
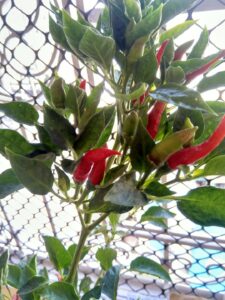
Chilli peppers are some of the easiest and fastest growing plants in a tropical and temperate climate like India. They love warm sunny spots and grow well in containers. If you like some spice in your life like me, you should definitely consider growing some chillies.
Picking the Chillies
When you are out buying fresh chillies, make sure to add some red ones to your cart. Pick ones which have a bright red hue all over and look thick and full. These are ripe chillies, which means their seeds have matured enough to grow. You can also use the seeds from already dried red chillies like Kashmiri, Longi, Pandi, Guntur which are easily available at our grocery stores. Organic is great, but honestly anything works.
Prepping the Chilli Peppers
Once you are back home, cut open the chilli carefully and separate the seeds from the placenta. Spread them out on a plate with a sheet of brown paper or tissue. Keep it in a dry, well-ventilated spot for a few days and they should be ready to plant. You should do this same process for both fresh or dried red chillies.
Choose containers that are about 16-18 inches deep and wide with drainage holes. Chilli hates sitting in wet soil. Which brings me to my next point – Soil. Chilli needs well draining loamy soil. A good soil mix for chilli would be ½ portion cocopeat, ¼ portion compost and ¼ portion perlite or even river sand for additional drainage.
Planting Chilli Seeds
You can plant your chilli seeds in your containers anytime of the year, provided its warm and sunny. Avoid the rainy season, ie June to September. While the seeds may still sprout, the likelihood of the plant growing to be unhealthy is very high.
Start by filling seedling trays with soil. Put one seed into each section. Cover with the soil mix. The seed should be sowed 5mm deep into the soil. If you are lazy like me, fill your container, leaving at least 2-3 inches from the top, with the soil mix. Now water the soil well and directly plunge the seeds 5mm into the soil. If you are planting multiple seeds in the container just make sure they are at least one inch apart!
Growing and Caring For Chiili Seedlings
Once your chilli seeds have sprouted and you see those pretty little green shoots, you need to choose the healthiest one. Let them grow to about 6 inches tall. Keep the sprouts that are the tallest and have big healthy leaves. Discard the others.
Take individual sprouts from your seedling trays and plant them in separate containers. If you took the lazy route and planted it directly into the container, again pick out the tallest one with the biggest leaves. Water you chilli plant once a day well. Now let your chilli plants grow, flower and fruit!
Your chilli plant will need an additional topping off compost or some organic liquid fertilizer once every 2 months. Chilli does occasionally have spells of annoying pests especially as we get closer to the rainy season. With adequate TLC, a full grown chilli plant will stay with you for years. My chilli plant has been with me for over 6 years and still gives me bursts of ample chillies.
2. Growing Bell Pepper Plants
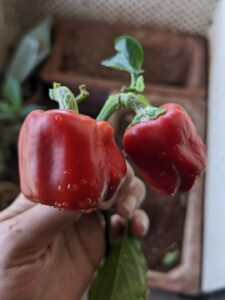
Like chillies, bell peppers do very well in warm climates like ours. If chillis are too spicy for you, then sweet and crispy bell peppers are the right plant for you. Much of the prepping, planting and care for bell peppers are as described above for chillies.
Picking the Bell Peppers
When you are at the grocery aisle scouring through the various colorful bell peppers, pick the reddest and juiciest bell peppers for your planting purposes. The red ones are the ripe bell peppers that contain the mature seeds that you can use for planting.
Prepping the Bell Peppers
Cut open the bell pepper and separate the seeds from the placenta and spread them on a plate lined with paper. Keep it in a dry, well-ventilated spot for a few days and they should be ready to plant.
Bell peppers like to spread their roots out, so the bigger container the better. Your container should at least be 14 inches wide and 18-24 inches deep. Being from the same family as chilli, bell peppers hate wet soil and need well draining loamy soil. ½ portion cocopeat, ¼ portion compost and ¼ portion perlite or even river sand works for bell peppers as well.
Planting Bell Pepper Seeds
If you have already read how to plant chilli seeds you can skip this section. For others who haven’t, avoid planting seeds in the rainy season, ie June to September. While the seeds may still sprout, the likelihood of the plant growing to be unhealthy is very high.
Start by filling seedling trays with soil. Put one seed into each section. Cover with the soil mix. The seed should be sowed 5mm deep into the soil. If you are lazy like me, fill your container, leaving at least 2-3 inches from the top, with the soil mix. Now water the soil well and directly plunge the seeds 5mm into the soil. If you are planting multiple seeds in the container just make sure they are at least one inch apart.
Growing and Caring For Bell Pepper Plants
Once your bell pepper seeds have, you need to choose the healthiest one. Let them grow to about 6 inches tall. Keep the sprouts that are the tallest and have big healthy leaves. Discard the others.
Take individual sprouts from your seedling trays and plant them in separate containers. If you took the lazy route and planted it directly into the container, again pick out the tallest one with the biggest leaves. Water your bell pepper plant once a day well.
In comparison to chilli, bell peppers require more regular fertilising. Use commercial liquid fertilisers at half the recommended dose. You will need to apply liquid fertilisers every seven to 10 days for the first month to create strong early growth. Once your plant starts flowering, use a slow release granule fertiliser. Make sure you do not get this on the foliage and keep it few inches away from the stem. Apply the fertiliser in the morning and then water the plant well. You can continue to use liquid fertiliser at the reduced amount keeping a gap of 20 days. You will have soon have a lush and hopefully bountiful bell pepper plant.
Like chilli, bell pepper does occasionally have spells of annoying pests especially as we get closer to the rainy season.
3. Growing Tomato at Home
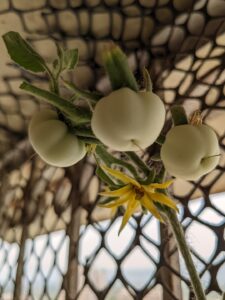
I don’t know about you, but I personally love juicy, sweet, tart and tangy tomatoes. Tomatoes are so versatile and they can elevate any dish in every form – raw, roasted, sundried … you name it. Indian cooking uses tomatoes a lot as base in variety of dishes and thus makes a good plant to grow at home. Of course, if you want an abundant supply, you will need multiple tomato plants. But its good to start off with one to learn and understand the basic care for tomatoes.
Picking the Tomatoes
When picking tomatoes, all you need is to make sure you pick bright red juicy tomatoes. These generally have the best seeds for growing. Avoid tomatoes that have yellow or green spots. You can use any of the locally available varieties like hybrid, round local ones or even cherry tomatoes.
Prepping the Tomatoes
There is not much to prepping tomatoes for planting. You can either cut the tomatoes in slices or cut the tomato in half and scoop out the seed pulp. These can be used directly for planting.
For growing tomatoes, you need big containers with a minimum holding capacity of 10 litres. As tomato is a warm climate plant, much like peppers, it does not like sitting in wet soil. Drainage holes are essential. Tomatoes do well in all types of soil except heavy clay soil. But they prefer well drained fertile loamy soil. To prepare a good soil mix for your tomatoes, mix 1 part coco peat, 1 part compost and 1 part perlite.
Planting Tomato Seeds
Fill your container with the prepared soil mix leaving around 6 inches from the top. Water the soil well, till water drains out from below. Now places one tomato slice or a small spoon of the seed pulp onto the soil of one container. Cover with an inch or 2 of soil mix and lightly mist the top.
Growing and Caring For Tomato Plants
Keep the container at a warm spot but away from direct or harsh sunlight. Tomato takes 5-7 days to sprout in ideal conditions. You will have multiple sprouts, but it is good practice to have one per container. Keep the healthiest sprout and discard the others.
Once your tomato gets its true leaves, you can move it to a sunny spot that at least get 6-7 hours of direct sunlight. At this point you need to start feeding your tomato with a mild liquid fertiliser every 2 weeks or so. Once your tomato starts flowering and you see your first fruit, it is time for the last fertilisation.
Your tomato plant will also need some sort of support system. You can either put stakes around the edges of the soil or place a wire mesh or have a triangular trellis. Tomato can have a variety of pests and keeping an out for them is crucial.
4. Growing Potatoes in Pots
I love my potatoes – roasted, boiled, mashed, in curries, in salads, everywhere. This starchy root vegetable is slightly creamy, slightly dense with a thin skin. The skins alone make a great nutritious snack when roasted into chips. I recently got to planting my first potato and failed at it because of a variety of reasons. But hey! It’s a lesson learned and we will try again. Here are the basics you need to know about growing your potatoes.
Picking the Potatoes
Firstly you need to buy old potatoes. The potatoes that arrive in the market around December are new potatoes and those will not work for planting. Around March April onwards, you will find potatoes that will easily sprout eyes when left in your food basket. These are the potatoes you want to plant.
Prepping the Potatoes
If you already have potatoes lying in your basket that have sprouted eyes, place them in a cardboard egg tray with the eyes facing up. They should not be touching each other. This process is called chitting the potatoes and it sets you up for a larger harvest and essentially extends the growing season for your potatoes.
Keep this tray at warm well lit spot, maybe near a window sill that gets filtered light. You want stocky shoots around one inch in length and deep-green, almost purple, in color. If your potato produces lots of shoots, leave two or three and rub off the others.
By restricting the number of chits you will get larger potatoes, but fewer in number. However, if you want many little potatoes, then leave all the shoots to grow. Select a container that is at least 16 inches in diameter and 16 inches (41 cm) high.
Potatoes are hardy and adapt well too many difficult soil types but they prefer loose and deep loam that holds moisture and also drains well. A good mix is 1/3 compost, 1/3 perlite, and 1/3 cocopeat.
Planting Potatoes
The best time to plant potatoes is when it becomes warmer. You can plant it after the rainy season or after winter. Fill about half the container with the soil mix and push a potato into the soil with shoots facing upwards. Cover your seed potatoes with about 1-2 inches of the soil mix and water well.
Growing and Caring For Potato Plants
Mix in a diluted, liquid organic fertilizer into your potatoes’ water every few weeks. When your plants are about 6 inches tall, add several inches of soil to the base of your plants. The soil should reach about 1/3 up your plant and it may cover up some of the plant’s lower leaves. This process is called hilling.
Continue hilling your plants every few weeks as they grow until they reach the top of your containers. Potatoes are fast growers, so this may take less time than you expect. Potatoes mature in around 90-100 days. When your plants start turning yellow, it is the right time to harvest. Just tip over your container onto a big plastic sheet or tarp and enjoy treasure hunting for your potatoes.
5. Growing Herbs At Home
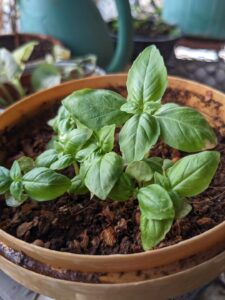
The next time you go to the grocery store to buy herbs, consider the fact that you may never have to buy them ever again. You can grow a variety of herbs by propagating cuttings from your grocery haul. I have personally had tremendous success with mint, basil, tarragon and even oregano. In fact, I saved the seed from my last basil plants and now I can always have basil growing at home.
Picking the Herbs
Not every herb will take to propagating. The fresher your herb, the better its chances of survival will be. Yellowing and blackening leaves won’t work.So make sure you pick the freshest of the lot. If you have friends who have potted herbs, consider taking cuttings from them. Cuttings from potted herbs have a higher success rate with propagation.
Prepping the Herbs
So now you have a whole bunch of herbs. What do you do? Cut your herbs at least 3-4 inches long from the top. Remove all the leaves from the bottom of the cutting, leaving only 5-6 leaves on the top. Take a clean pair of scissors and trim the stem at the bottom at a 45-degree angle. This will increase the surface area for another node to grow roots.
After you’ve prepared your herb cuttings, drop them into a clear cup with clean water and leave them in a warm, bright corner of your home. Don’t forget to change the water every few days. In two weeks, you should start seeing roots form in the water.
Unlike all the other plants on this list, herb plants do not need huge containers. You can repurpose any container as long as its 8 inches deep and has drainage holes. Plastic containers are great, as they don’t let the soil dry out too fast. A good mix is 1/3 compost, 1/3 perlite, and 1/3 cocopeat.
Planting Herbs
Fill your container of choice with the soil mix. Use your finger to a dig a well of sorts. Take your herb cutting that has roots and gently place it into the well. Cover the roots up to one inch of the stem with soil mix. Water well.
Growing and Caring For Herbs
Herb plants like warm spots but not very harsh sunlight. Harsh sunlight tends to burn the tender leaves of herbs. So keep them at a spot that is warm and get 6-7 hours of filtered sunlight.
They do no need to be fertilized frequent. You can use a mild liquid fertilizer in a 3 / 4 / 6 month cycle. Once you see additional leaves sprouting, let the plant stabilise and grow for another 2 weeks and you have a constant supply of herbs for your daily cooking
General care for all plants
Choosing and Preparing the Planters
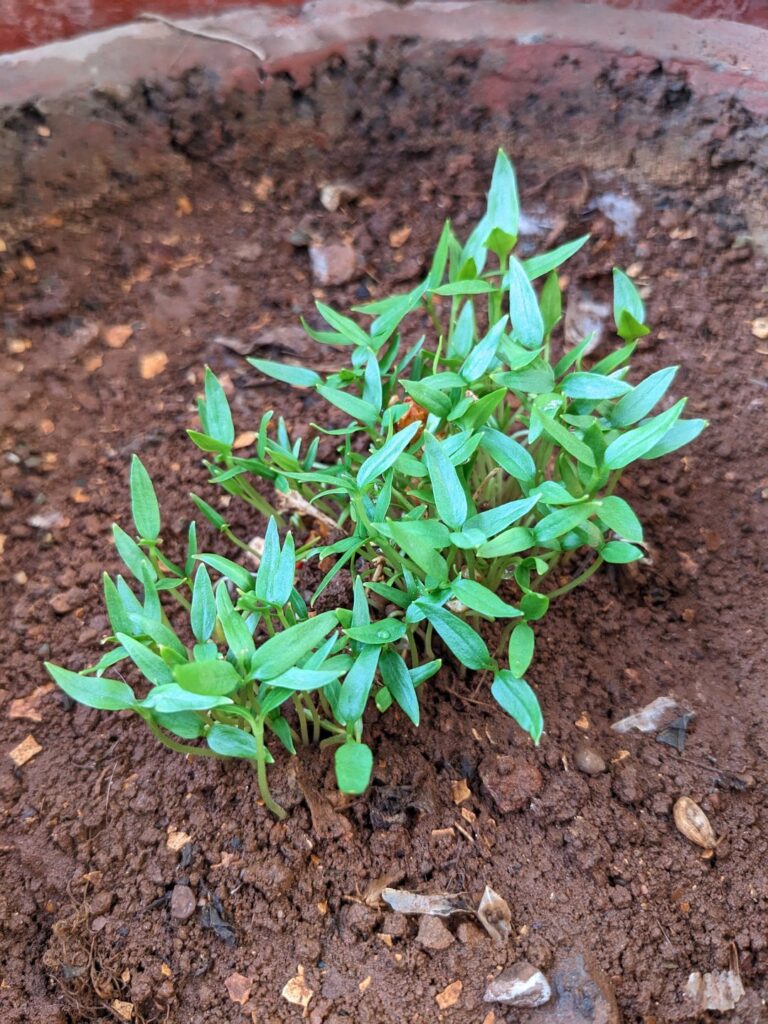
It does not matter if you buy pots or reuse already existing containers, just make sure they are the appropriate size and have at least 2-3 drainage holes. I also like filling the bottom 2-3 inches of the container with rocks, stones, coconut shells for additional drainage. This ensures that the drainage holes don’t get blocked.
For planting seeds, you can use seedling trays or go the lazy route by directly sticking seeds into the soil. If you do not have seedling trays at home, you can also use egg shells that are almost whole with a hole on top or even cardboard or plastic egg trays.
How to Water Your Kitchen Garden
A good way to know when your plants need watering is the finger test. Poke your finger 2 inches into the soil. If the soil feels wet and clumps of soil are stuck to your finger, do not water. If the soil is moist and your finger comes out mostly dry with some particles, it is time to water.
Watering your soil thoroughly (until the water drains out from below) in the morning allows your soil to dry out through the day and you can avoid root rot and other diseases that come with overly wet soil.
dealing with plants pests
Keep checking your plants regularly for pests and predators that can kill your plant as well as spread to other plants, if not spotted early. Make a simple solution with a litre of water, ¼ tsp of dish soap solution and one tsp of neem oil. Mix it well and pour it into a spray bottle. This solution works well for most predators and is good to keep handy.
If you spot pests on your plants, spray the top and underside of the leaves thoroughly. It also helps to lightly rub the leaves and affected parts with your fingers to get them out of more stubborn spots.
A Constant Supply of Produce
I personally enjoy watching plants and their life cycles. Getting produce is a bonus for me. If you want more produce, you can plant multiple plants of the same type in a gap of 2-3 weeks. This ensures you have an almost constant supply of produce.
Pay attention to your plants to spot pests, fertilise them on the basis of their individual needs, and you will successfully have food growing in your own apartment. These 5 fresh foods are a good place to start your kitchen garden journey.

